Isn’t it fabulous?.. by Jo King
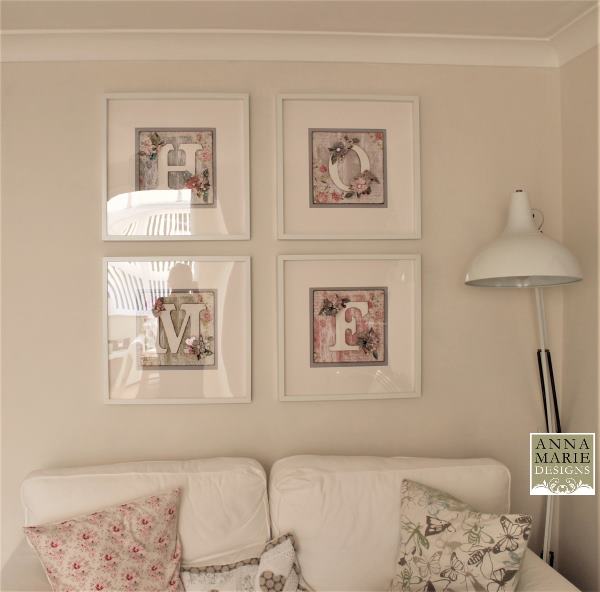
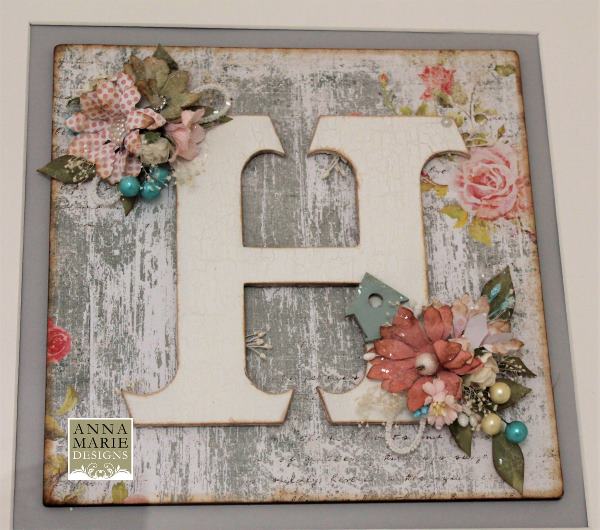
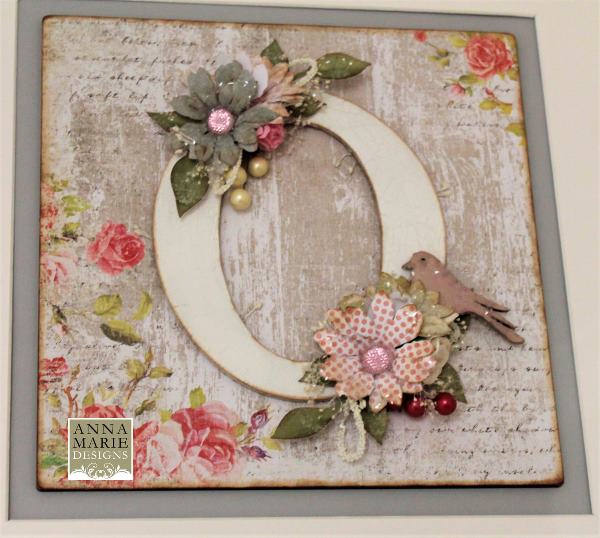
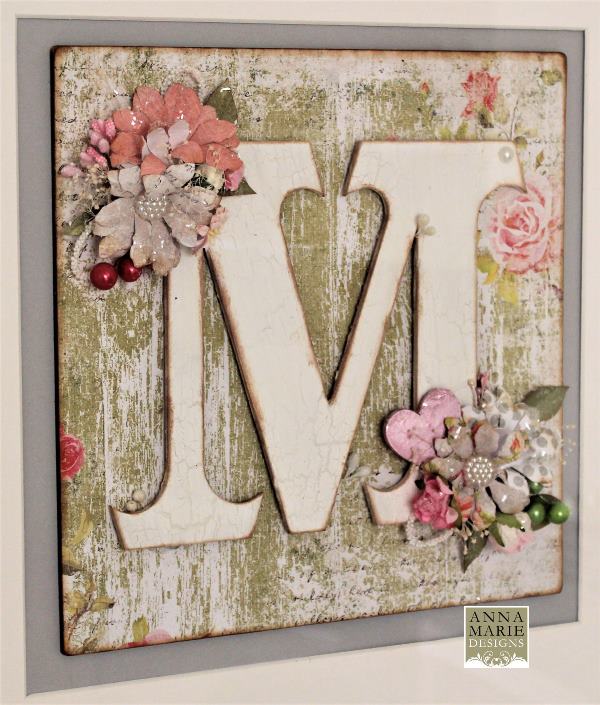
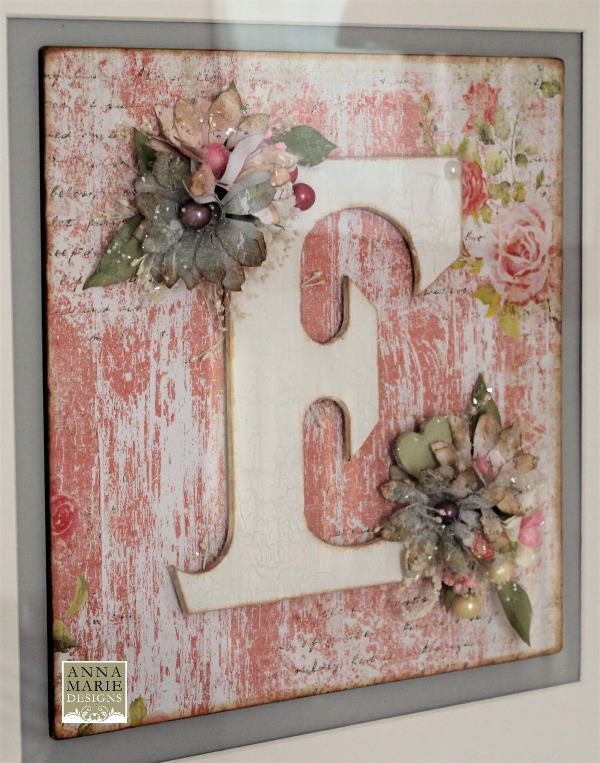
Hi, It’s Jo here again. Firstly, may I begin by thanking you all for your kind comments on the Make It With Anna Marie Designs Facebook page concerning my recent submission of my HOME pictures – I was totally overwhelmed by the response I received! I have, therefore, been asked to submit a blog post to explain how I made these. I will explain the “H” out of the letters but each one is basically the same.
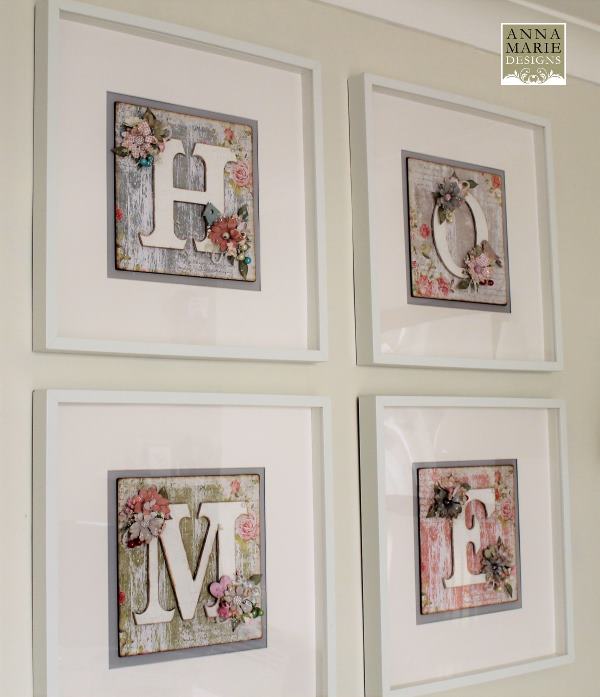
I started by priming the letter itself – you can use Ceramic Effect or Gesso or just white paint, it’s totally up to you. I then added a layer of Americana Décor Everlasting paint and allowed it to dry naturally. Americana Décor Crackle Medium was then applied and when this had dried, I added another coat of the Everlasting paint. It is important not to overwork this last layer of paint and remember, the thicker the layer of paint, the bigger the crackle and the thinner the layer of paint, the finer the crackle. When it is completely dry, I inked around the edges with a brown ink pad.
With the MDF backing board, there is no need to prime it. I chose a sheet of 12” x 12” Blissful paper (in this case from the Teal collection) and adhered it using a red liner tape and a strong PVA glue. I then cut off the excess using a craft knife and the edge of the MDF as a template. Again, I inked around the edges with a brown ink pad.
When I’m assembling the project, I tend to have all the pieces in front of me and have a practice first placing the embellishments on the letter before glueing. The embellishments included four large die cut flowers, cut from a mixture of the Blissful Paper ranges and shaped to give them dimension, die cut leaves, stamens, dried bloom flowers, small MDF birdhouse painted with Vintage chalky paint , foam sprigs, berries and an assortment of smaller flowers. Obviously, you can choose whatever you want to put on it – I’ve used the small MDF birds and hearts in the other letters.
I applied Pinflair Glue Gel to the back of the letter ‘H’ and gently placed it on the covered MDF panel. I then start adding the embellishments, starting with the large flowers, with the same glue gel and filling any gaps with smaller flowers and dried flowers. Don’t be afraid to replace one embellishment with another if you don’t like it as the Glue Gel gives you time to do this. I also covered the hole at the top of the letter ‘H’ with a flat back pearl which I adhered with PVA dries clear glue.
When you are happy with your creation, gently press the embellishments down then add some of the Glue Gel to the flowers and leaves (I find the best way to do this is with my finger) and finally, sprinkle with Crushed Ice. I like to leave mine overnight to dry properly. You can then display it how you wish.
An Alphabet Plaques
Hope you have fun with your project and thank you all once again for your fantastic response.
Jo
P.S. YouTube Video Tutorial on How to decorate an Alphabet Plaque

