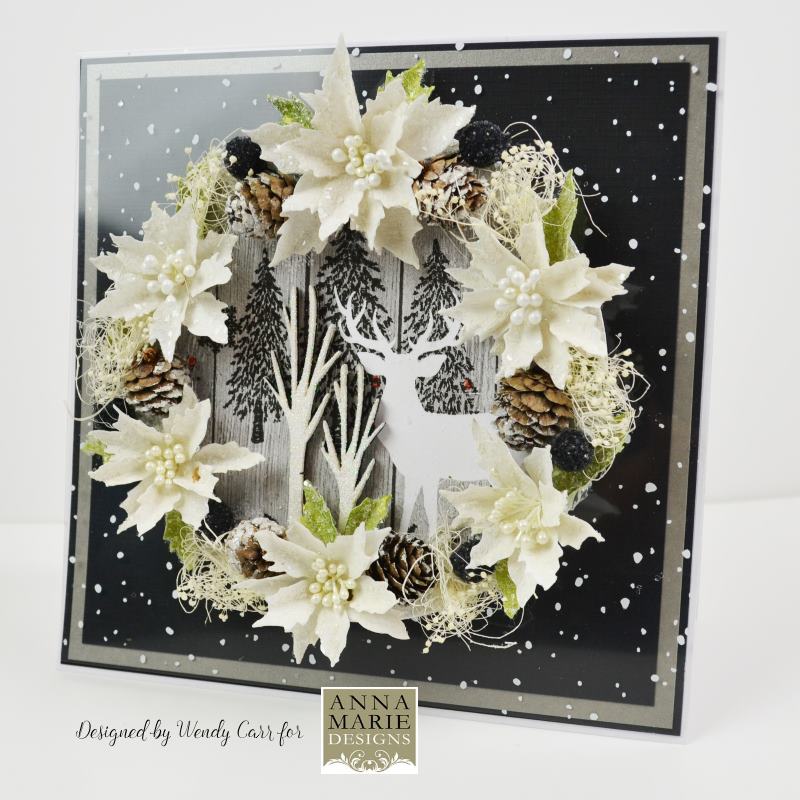
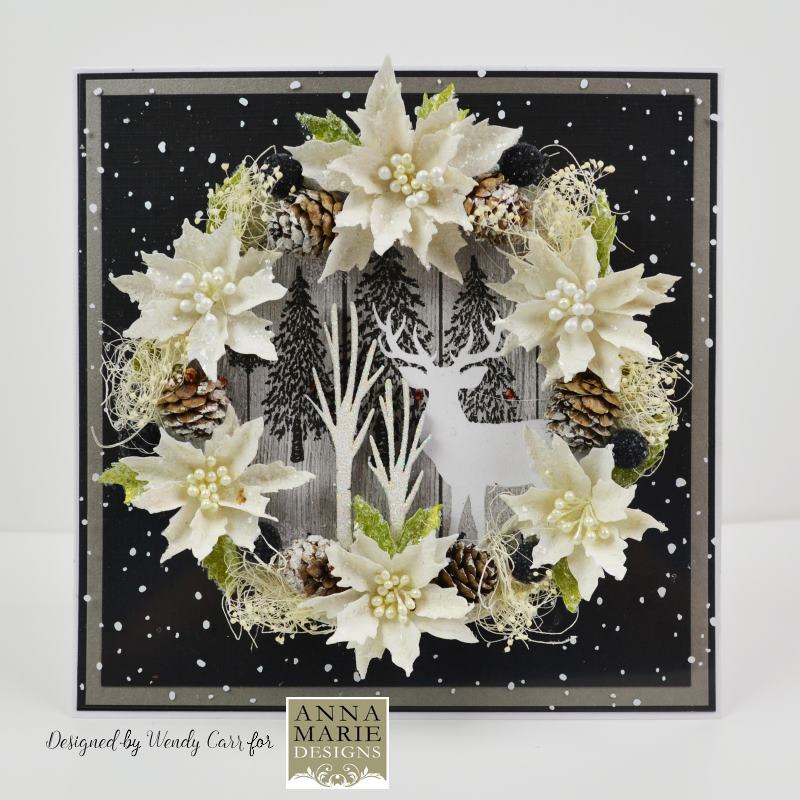
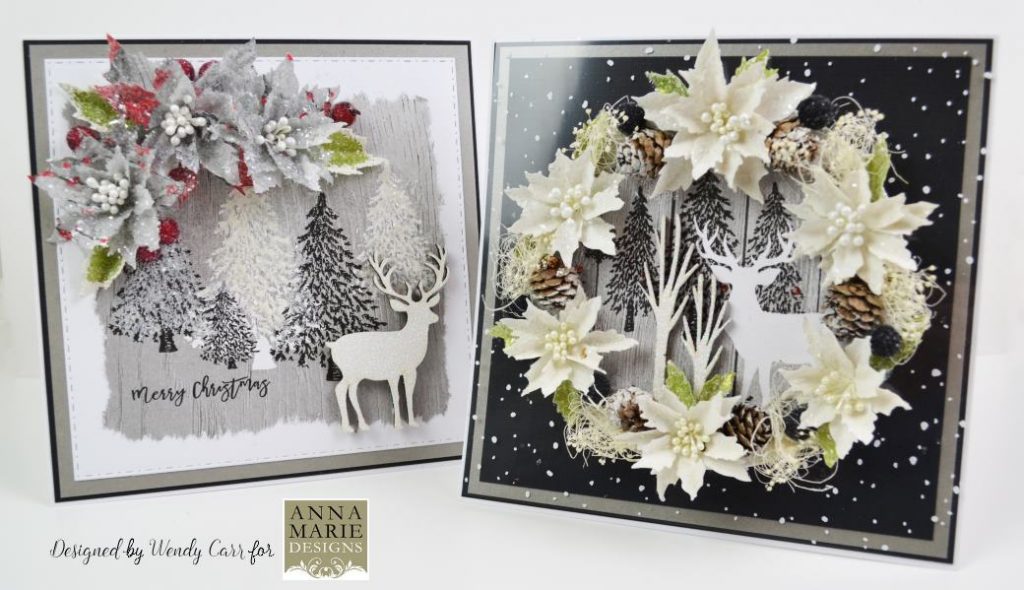
Black & Grey Napkin Poinsettia Wreath Card by Wendy Carr.
Hi Everyone, I just loved making this card and if you would like to do something similar here is a list of the materials that you will need.
materials:
8” square Mont Blanc Card Blank
1 Napkin – Wooden Scene Grey
Napkin glue
1 A4 Glitz Card in grey
1 A4 Glitz Card in Green (for the leaves)
2 x A4 Card in black
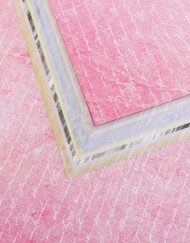
2 x A4 Mont Blanc card
2 x Plain Vellum
1 A4 Snowflake acetate
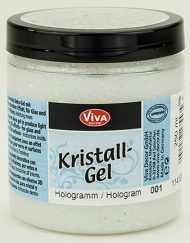
Crushed Ice Crystals
Ceramic Effect
White Chalky Paint
Pinflair Glue Gel
2 MDF Trees
Glamour Dust
Pine cones,
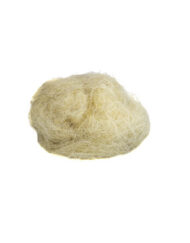
White Stamens
Sizzix Tattered Poinsettia Die or any other poinsettia die
Large circle die (with an approx. cutting area of 5¾”)
Spray Mount Glue
1. Separate the image part of the Napkin from the 2 base layers, keep these blank layers as these will make the poinsettia flowers.
2. Using just 1 of the images from the Napkin, apply it to a piece of Mont Blanc Card (leaving enough space for you to use your chosen die) with the Napkin Glue and leave to dry. Once dry, cut out with the large circle die, cut another circle from the second piece of Mont Blanc card and glue this to the back of the napkin circle (this adds more strength) and leave to dry.
3. Cut a piece black card to 7 ¾”
4. Cut the grey card to 7 1/2”
5. Cut the second piece of black card to 6 1/2”
6. Mat & layer these pieces onto the 8” square Mont Blanc Card Blank
7. Cut the acetate to 7 ¾” and attach in the centre only on top of the mat & layers using Pinflair Glue Gel to raise it and leave to dry.
8. Brush some Ceramic Effect onto the trees on the napkin and dip into Crushed Ice Crystals. Repeat this process for the outer edges of the napkin circle and leave to dry.
9. Once the gel holding the acetate in place is dry you can attach the napkin circle in the same way directly above where you applied the gel to hold the acetate in place, this so none of the gel can be seen, leave to dry.
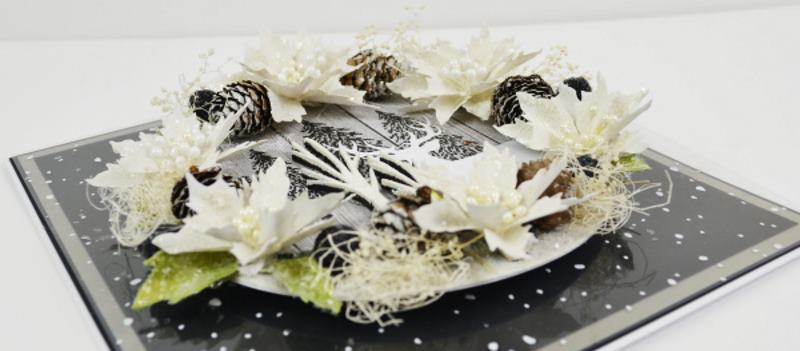
10. Paint the 2 MDF Trees with the White Chalky Paint and while they’re still wet sprinkle with Glamour Dust. Once they’re dry you can glue them into place on the Napkin circle.
11. Using the 2 bottom blank layers of the napkin, spray the 2 A4 sheets of vellum with spray mount and stick the napkin blanks to them and using a brayer to get a smooth and wrinkle free surface then leave to dry.
12. Once the vellum & blank napkin is dry, cut out 6 sets of poinsettia flowers with the Sizzix Tattered Poinsettia Die (you can use any poinsettia die if you don’t have this one).
Use the same die to cut out the leaves in the Green Glitz Card.
13. Brush the flowers with Ceramic Effect to give a lovely textured look and then dip them into Crushed Ice Crystals while they are still wet. Leave the flowers to dry.
14. Make up the flowers. Poke a hole through the centre of the flowers and thread some stamens through.
15. Create your wreath by starting with the first flower at the top and then evenly distribute the other 5 around the circle. Fill in with pine cones, berries and natural accents.
I hope that you will like this project and see you soon.
Wendy
PS. From Anna Marie
I think this card is absolutely beautiful, I just love how bold and stylish it is, look forward to your next BLOG post…


Fabulous please do some more . This one looks quite hard but will give it a go xx